
Media Street have been offering a diverse range of digital services to local and international businesses for over 10 years. With a credible client portfolio and a wide knowledge of all-things-digital, we have helped businesses grow through creative website and graphic design, successful marketing campaigns and competitive hosting packages, plus much more. Take a further look into our latest news articles, learn more about our staff and how we can help your business excel with our FAQs and testimonials
Access and Manage your accounts with Media Street. To login to your client areas please select the relavent link below.
We're proud to be a full service digital agency. For a list of our services please navigate services using the menu to the left, or choose a service category below.
Alternatively you can view all of our services below:
View AllIn my last post I explained how to create and add a simple email signature within Outlook 2010 (link to article) so that it is automatically added when you go to create a new message.
During this tutorial I will explain how to do this using another well known email application – the ever-popular Windows Live.
1. Firstly, open up Windows Live and click on “Mail” – located on the lower-left hand side.
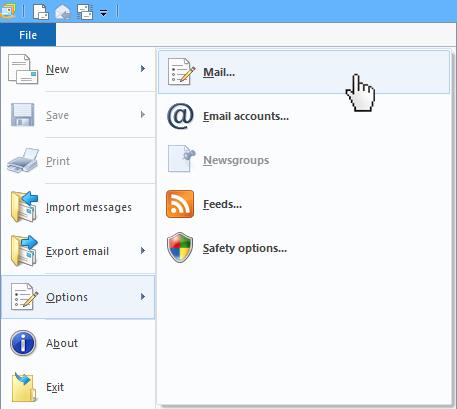
2. Next, open the File menu and click on “Options” followed by “Mail”.
3. Once the Options window has opened, click on the Signatures tab. To create a new signature simply click “New”.

4. Under “Edit Signature” enter the text you would like to include in your email signature and click OK.
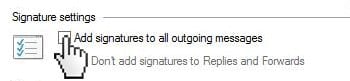
1. If you would like to include your newly created signature in all of your future messages, simply select the “Add signatures to all outgoing messages” checkbox before you click OK (step 5 above).
Hope that helps, Window Live users! Next time I’ll cover adding a signature in Apple Mail but in the meantime check out this very funny article on urlesque on the 5 Most Annoying Types of Email Signature.


 01392 914033