
Media Street have been offering a diverse range of digital services to local and international businesses for over 10 years. With a credible client portfolio and a wide knowledge of all-things-digital, we have helped businesses grow through creative website and graphic design, successful marketing campaigns and competitive hosting packages, plus much more. Take a further look into our latest news articles, learn more about our staff and how we can help your business excel with our FAQs and testimonials
Access and Manage your accounts with Media Street. To login to your client areas please select the relavent link below.
We're proud to be a full service digital agency. For a list of our services please navigate services using the menu to the left, or choose a service category below.
Alternatively you can view all of our services below:
View AllSo you’re building a new website and you want to have content in different places across your new web page, the way that I would achieve this would be to use Advanced Custom Fields (ACF), it’s a free plugin for WordPress that allows you to create unlimited fields (text, images etc.) and then load them all via your template. A great and easy tool if you want to load more than just your standard “Content” area on a page.
What I find the best thing to do before you start having a play with the ACF, make sure all the pages that you need have been created as you will need them.
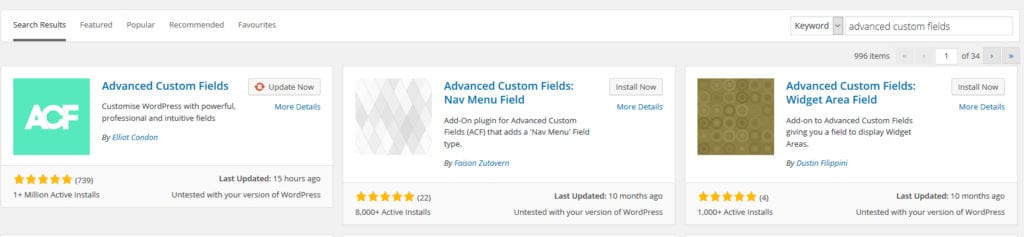
Once these pages have been created and before you use ACF you will need to download it. All you need to do is to search for it in the ‘Plug-in’ section within the back-end of your WordPress site. After it has been downloaded, which won’t take any time at all, a new tab will appear on the left hand side called “Custom Fields”.
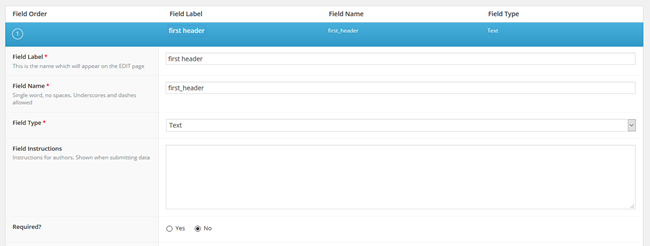
Now that you have ACF installed and ready to go, this is where the fun starts. Pull up the design that you have of the new site and go through every page breaking down each part on the page. This can take a bit of time to go through but it will be worth it at the end. Remember when creating the fields that you choose the correct field type. For sections that will be using HTML code set the Field to a ‘WYSIWYG’ editor. This will give you the option to add in your own HTML coding. When it comes to having a title or header, create a field and set the field to ‘text’. This will allow you to have it as any header tag on your template. If you’re looking to have images on your site, you will need to set the field to an ‘Image’. After choose that make sure you change the ‘Return Value’ selection to ‘Image ID’. After creating the fields that you need for the page, make sure you choose the page that you want these fields to be displayed on, this is the reason creation on the page was needed at the beginning. (Just a little note, the ‘field name’ will automatically fill it’s self in using the ‘field label’)
After you have gone through your design, broken it in to parts and have added your ACF for every page. There is just only a few steps left to do, one is to add the content in to the pages, then, all you need to do now is create one PHP file and added in your Fields. When it comes to the different pages that you have different ACF being displayed on made sure you added in:
[pastacode lang=”markup” message=”” highlight=”” provider=”manual”]
[/pastacode]
This will display the ACF to the page that only has that particular ID for that page.
Text – Useful for header titles.
Wysiwyg – Used for more of the content section, where you can add your HTML code.
Text Area – Useful for paragraphs of text.
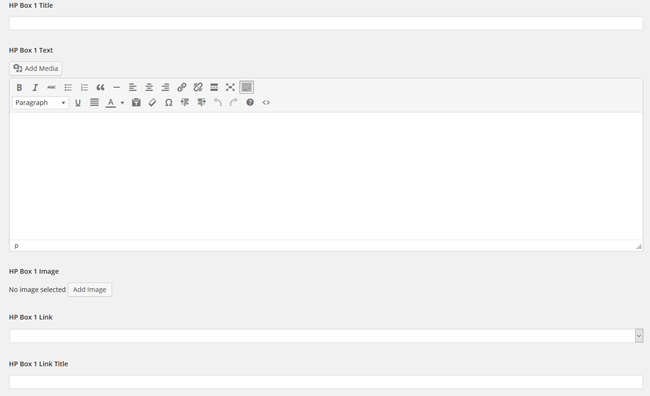
Image – This is where you’ll add your image for that page.
I find the advantages of using ACF on your site are that it saves time from building multiple templates for every page on your site; this is a big bonus when you have a large site to create. It also comes in handy when you pass the site over to the client to use. As, if named correctly, they can see when editing the page which field is which and they don’t have to fight their way through multiple text to find what they need to change.
With using ACF you get have more control over what content can be displayed on the pages of your WordPress site. You can also build websites that are easier to edit and manage directly from the WordPress backend. This means you can have certain content available to your client and editable which wasn’t before. Cutting down on development time, which opens door to start on bigger projects.
If there is any farther is information related to WordPress ACF or even I website using ACF, please don’t hesitate to get in contact with us.


 01392 914033